Содержание
По сути, все, что вам нужно, чтобы добавить водяной знак на изображение, это compositeImage метод из объекта изображения. Этот метод позволяет легко комбинировать одно изображение на другое.
readImage("image.jpg");
// Create instance of the Watermark image
$watermark = new Imagick();
$watermark->readImage("watermark.png");
// The start coordinates where the file should be printed
$x = 0;
$y = 0;
// Draw watermark on the image file with the given coordinates
$image->compositeImage($watermark, Imagick::COMPOSITE_OVER, $x, $y);
// Save image
$image->writeImage("image_watermark." . $image->getImageFormat());
Координаты, указанные в методе, полностью зависят от вас, так как ваше пожелание водяного знака может быть другим (на всем изображении или просто в углу изображения). Файл водяных знаков должен иметь прозрачность с форматом .png в противном случае водяной знак будет четко перекрывать исходное изображение.
Примеры
В следующих примерах мы покажем, как добавить водяной знак к изображению, используя следующий водяной знак (водяной знак также может быть логотипом нашего мира кода):

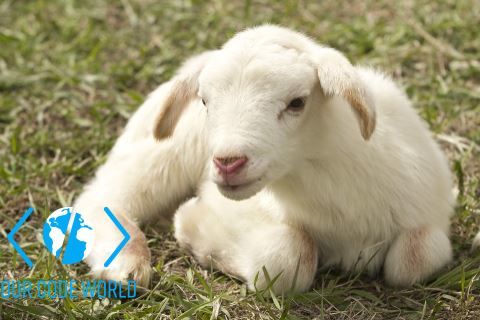
Для изображения мы будем использовать счастливую козу без авторских прав:
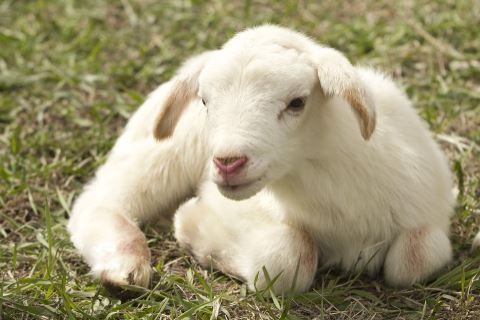
Ницца нет?
Водяной знак в натуральную величину
Заметка
Мы используем getcwd функция PHP для предоставления абсолютного пути (получения текущего рабочего каталога) к Imagick, так как он обычно не работает с относительными путями, такими как ../file.png, В зависимости от того, как вы работаете (используя фреймворк или обычный PHP), способ, которым вы указываете абсолютный путь к файлу, может быть разным, так что не забывайте!
readImage(getcwd(). "/goat.jpg");
// Open the watermark image
// Important: the image should be obviously transparent with .png format
$watermark = new Imagick();
$watermark->readImage(getcwd(). "/draft_watermark.png");
// Retrieve size of the Images to verify how to print the watermark on the image
$img_Width = $image->getImageWidth();
$img_Height = $image->getImageHeight();
$watermark_Width = $watermark->getImageWidth();
$watermark_Height = $watermark->getImageHeight();
// Check if the dimensions of the image are less than the dimensions of the watermark
// In case it is, then proceed to
if ($img_Height < $watermark_Height || $img_Width scaleImage($img_Width, $img_Height);
// Update size of the watermark
$watermark_Width = $watermark->getImageWidth();
$watermark_Height = $watermark->getImageHeight();
}
// Calculate the position
$x = ($img_Width - $watermark_Width) / 2;
$y = ($img_Height - $watermark_Height) / 2;
// Draw the watermark on your image
$image->compositeImage($watermark, Imagick::COMPOSITE_OVER, $x, $y);
// From now on depends on you what you want to do with the image
// for example save it in some directory etc.
// In this example we'll Send the img data to the browser as response
// with Plain PHP
header("Content-Type: image/" . $image->getImageFormat());
echo $image;
// Or if you prefer to save the image on some directory
// Take care of the extension and the path !
// $image->writeImage(getcwd(). "/goat_watermark." . $image->getImageFormat());
Который будет производить с нашими изображениями следующий вывод в браузере (или если вы решили сохранить его в файл):

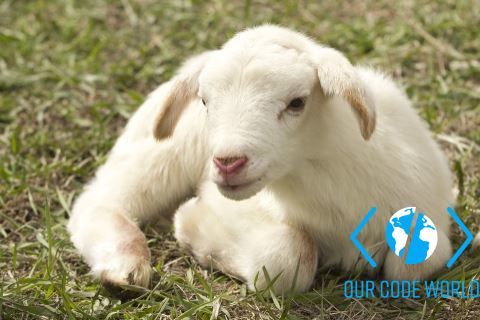
Правый нижний угол водяного знака
readImage(getcwd(). "/goat.jpg");
// Open the watermark image
// Important: the image should be obviously transparent with .png format
$watermark = new Imagick();
$watermark->readImage(getcwd(). "/watermark_file.png");
// The resize factor can depend on the size of your watermark, so heads up with dynamic size watermarks !
$watermarkResizeFactor = 6;
// Retrieve size of the Images to verify how to print the watermark on the image
$img_Width = $image->getImageWidth();
$img_Height = $image->getImageHeight();
$watermark_Width = $watermark->getImageWidth();
$watermark_Height = $watermark->getImageHeight();
// Resize the watermark with the resize factor value
$watermark->scaleImage($watermark_Width / $watermarkResizeFactor, $watermark_Height / $watermarkResizeFactor);
// Update watermark dimensions
$watermark_Width = $watermark->getImageWidth();
$watermark_Height = $watermark->getImageHeight();
// Draw on the bottom right corner of the original image
$x = ($img_Width - $watermark_Width);
$y = ($img_Height - $watermark_Height);
// Draw the watermark on your image
$image->compositeImage($watermark, Imagick::COMPOSITE_OVER, $x, $y);
// From now on depends on you what you want to do with the image
// for example save it in some directory etc.
// In this example we'll Send the img data to the browser as response
// with Plain PHP
header("Content-Type: image/" . $image->getImageFormat());
echo $image;
// Or if you prefer to save the image on some directory
// Take care of the extension and the path !
// $image->writeImage(getcwd(). "/goat_watermark." . $image->getImageFormat());
Который должен произвести следующее изображение:
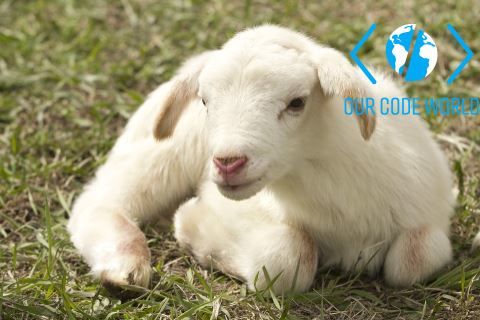
Водяной знак в правом верхнем углу
readImage(getcwd(). "/goat.jpg");
// Open the watermark image
// Important: the image should be obviously transparent with .png format
$watermark = new Imagick();
$watermark->readImage(getcwd(). "/watermark_file.png");
// The resize factor can depend on the size of your watermark, so heads up with dynamic size watermarks !
$watermarkResizeFactor = 6;
// Retrieve size of the Images to verify how to print the watermark on the image
$img_Width = $image->getImageWidth();
$img_Height = $image->getImageHeight();
$watermark_Width = $watermark->getImageWidth();
$watermark_Height = $watermark->getImageHeight();
// Resize the watermark with the resize factor value
$watermark->scaleImage($watermark_Width / $watermarkResizeFactor, $watermark_Height / $watermarkResizeFactor);
// Update watermark dimensions
$watermark_Width = $watermark->getImageWidth();
$watermark_Height = $watermark->getImageHeight();
// Draw on the top right corner of the original image
$x = ($img_Width - $watermark_Width);
$y = 0;
// Draw the watermark on your image
$image->compositeImage($watermark, Imagick::COMPOSITE_OVER, $x, $y);
// From now on depends on you what you want to do with the image
// for example save it in some directory etc.
// In this example we'll Send the img data to the browser as response
// with Plain PHP
header("Content-Type: image/" . $image->getImageFormat());
echo $image;
// Or if you prefer to save the image on some directory
// Take care of the extension and the path !
// $image->writeImage(getcwd(). "/goat_watermark." . $image->getImageFormat());
Который должен произвести следующее изображение:
Нижний левый угол водяного знака
readImage(getcwd(). "/goat.jpg");
// Open the watermark image
// Important: the image should be obviously transparent with .png format
$watermark = new Imagick();
$watermark->readImage(getcwd(). "/watermark_file.png");
// The resize factor can depend on the size of your watermark, so heads up with dynamic size watermarks !
$watermarkResizeFactor = 6;
// Retrieve size of the Images to verify how to print the watermark on the image
$img_Width = $image->getImageWidth();
$img_Height = $image->getImageHeight();
$watermark_Width = $watermark->getImageWidth();
$watermark_Height = $watermark->getImageHeight();
// Resize the watermark with the resize factor value
$watermark->scaleImage($watermark_Width / $watermarkResizeFactor, $watermark_Height / $watermarkResizeFactor);
// Update watermark dimensions
$watermark_Width = $watermark->getImageWidth();
$watermark_Height = $watermark->getImageHeight();
// Draw on the bottom left corner of the original image
$x = 0;
$y = ($img_Height - $watermark_Height);
// Draw the watermark on your image
$image->compositeImage($watermark, Imagick::COMPOSITE_OVER, $x, $y);
// From now on depends on you what you want to do with the image
// for example save it in some directory etc.
// In this example we'll Send the img data to the browser as response
// with Plain PHP
header("Content-Type: image/" . $image->getImageFormat());
echo $image;
// Or if you prefer to save the image on some directory
// Take care of the extension and the path !
// $image->writeImage(getcwd(). "/goat_watermark." . $image->getImageFormat());
Который должен произвести следующее изображение:
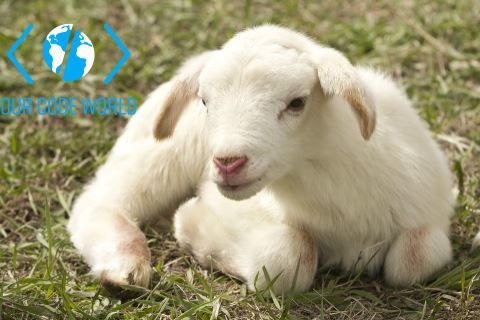
Верхний левый угол водяного знака
readImage(getcwd(). "/goat.jpg");
// Open the watermark image
// Important: the image should be obviously transparent with .png format
$watermark = new Imagick();
$watermark->readImage(getcwd(). "/watermark_file.png");
// The resize factor can depend on the size of your watermark, so heads up with dynamic size watermarks !
$watermarkResizeFactor = 6;
// Retrieve size of the Images to verify how to print the watermark on the image
$img_Width = $image->getImageWidth();
$img_Height = $image->getImageHeight();
$watermark_Width = $watermark->getImageWidth();
$watermark_Height = $watermark->getImageHeight();
// Resize the watermark with the resize factor value
$watermark->scaleImage($watermark_Width / $watermarkResizeFactor, $watermark_Height / $watermarkResizeFactor);
// Update watermark dimensions
$watermark_Width = $watermark->getImageWidth();
$watermark_Height = $watermark->getImageHeight();
// Draw the watermark on your image (top left corner)
$image->compositeImage($watermark, Imagick::COMPOSITE_OVER, 0, 0);
// From now on depends on you what you want to do with the image
// for example save it in some directory etc.
// In this example we'll Send the img data to the browser as response
// with Plain PHP
header("Content-Type: image/" . $image->getImageFormat());
echo $image;
// Or if you prefer to save the image on some directory
// Take care of the extension and the path !
// $image->writeImage(getcwd(). "/goat_watermark." . $image->getImageFormat());
Который должен произвести следующее изображение: